How to Refinish Wood Grain Fiberglass Doors
Why Refinish a Wood Grain FRP Door?
Every door, even Special-Lite’s resilient doors, needs periodic care to ensure both functional and appearance standards. Repainting a hollow metal door and refinishing a wood door require different processes. Most Special-Lite FRP doors are similar to metal doors in that a simple repainting will spruce them up if the finish looks too worn.
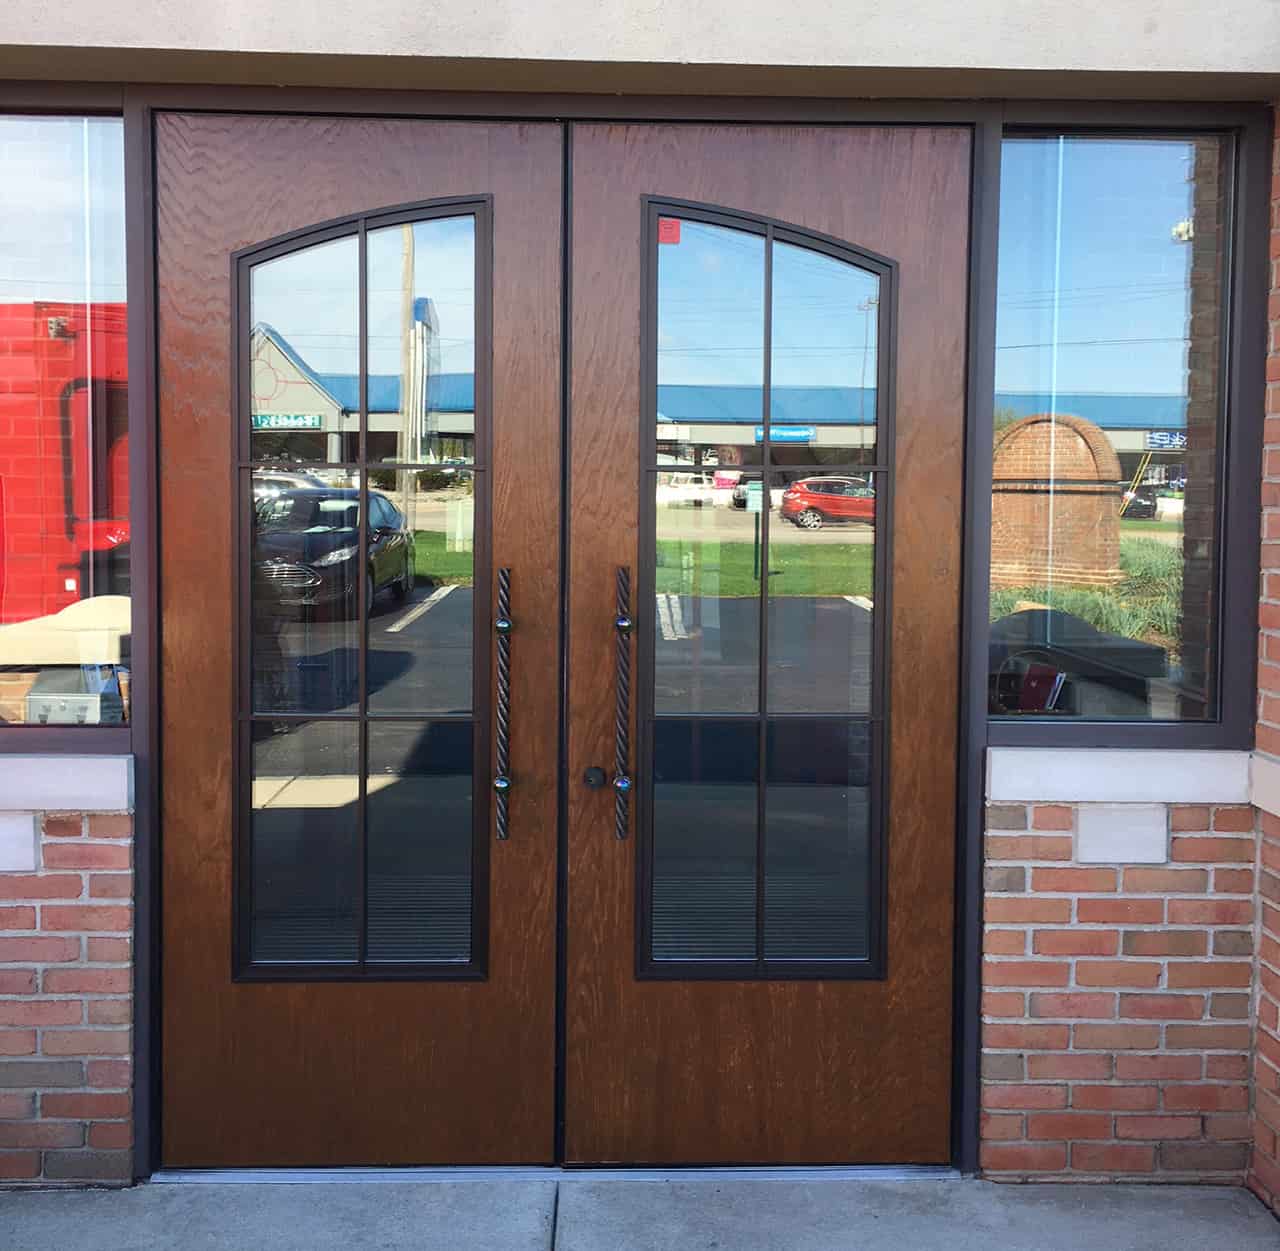
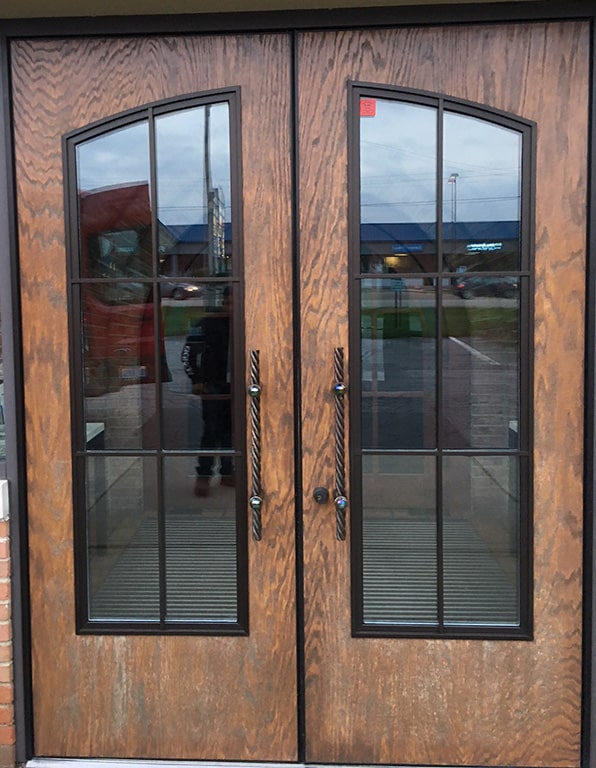
But wood grain FRP doors, such as our SL-18 and SL-19 models, are yet another matter. Their refinishing is similar to that of a wood door. (Although, if you wish, you can also paint these.)
When is Refinishing Needed?
It can vary significantly based on climate and UV exposure. But we generally recommend refinishing for wood grain FRP doors every seven to ten years.
However, there is no need to guess about the process or the materials you’ll need.
We have created easy-to-understand instructions that walk through the entire process. Better yet, we also have a short video that does the same thing (see below)!
In short order, you’ll be a wood grain refinishing pro.
Safety first: Before refinishing a wood grain door, you should have a few key items:
- Nitrile or latex gloves
- Eye protection
- A face mask – depending on the chemicals you choose.
Materials & Tools Needed to Refinish Woodgrain Doors
- Masking tape
- Paint and varnish stripper
- Inexpensive brush for applying stripper
- 4” to 6” wide putty knife
- Brass bristle brush
- Wire brush
- Mineral spirits
- Tack cloth
- Exterior grade stain (oil-based recommended)
- Exterior grade polyurethane
- Staining pads or brush
- High-quality finish brush
Step-by-Step Guide to Woodgrain Refinishing
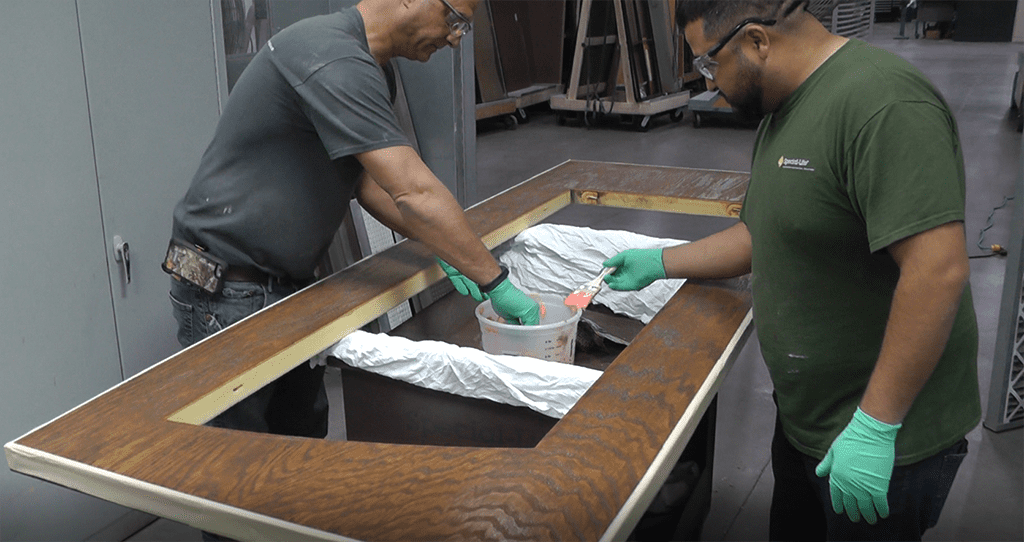
Note: This procedure describes removing the existing clear coat. You should NOT remove the underlying stain.
- Remove the door from its frame. Then, remove all hardware and glass.
- Use masking tape to mask off the aluminum casing around the door’s perimeter. Mask off the aluminum perimeter.
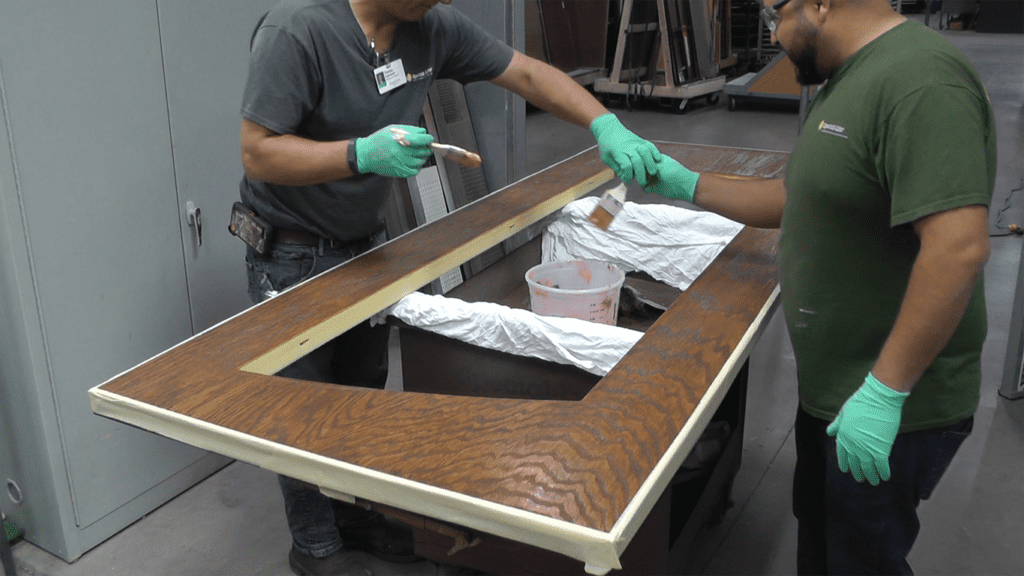
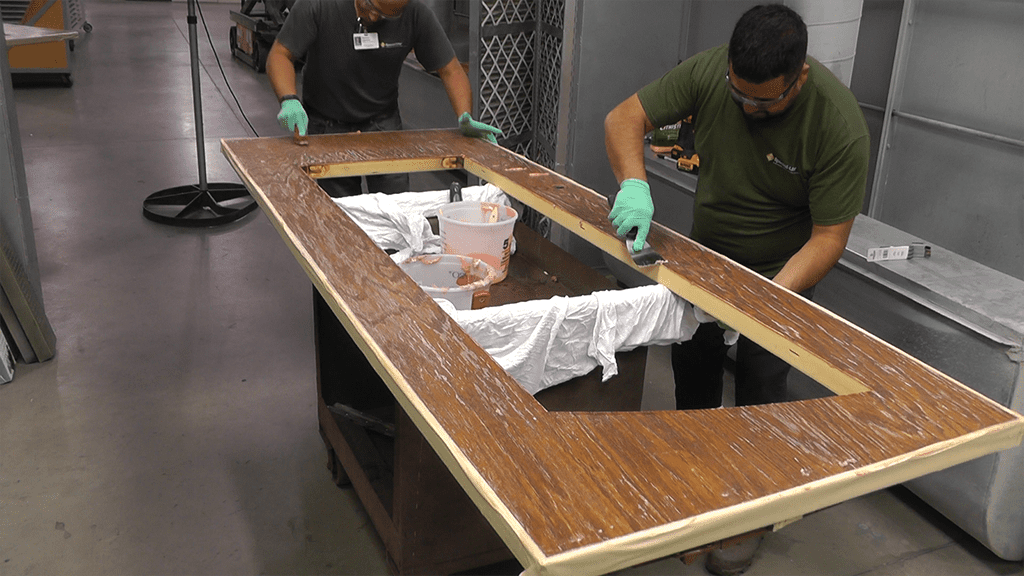
- Using a cheap brush, apply the stripper. Allow it to stand for approximately 1 hour.
- Remove the stripper, beginning with the putty knife. Be sure to hold it at an angle so you do not gouge the sheet. This will remove the clear coat from the higher surfaces.
- Continue removing the stripper with a stiff wire or brass bristle brush. This will remove the clear coat that is deep in the grain.
- Repeat steps 1-5 for the other side of the door.
- Now, it’s time to clean the door. You can start with air pressure if you have it available. Then, use mineral spirits to wipe down the surface, allowing it to dry thoroughly. Then, make a final wipe-down with a tack cloth.
- Apply the stain with a brush or staining pad, following the manufacturer’s instructions, including drying time.
- When the stain is dry, apply the first Polyurethane clear coat. Then, follow the manufacturer’s instructions for applying a second coat.
- When the second coat is dry to the touch, reinstall the glass kit, glass, and any hardware that you removed.
- Rehang the door.
Wood Grain Resources and Related Content
- Check out this related Blog post: Everything You Need to Know About Wood Grain Aluminum and Fiberglass Doors.
- Here are 3 Commonly Asked Questions and Answers about Wood Grain Doors.
- Download a PDF on how to refinish FRP Wood Grain Doors.
Next Steps
Ready to talk more about the Wood Grain Doors Special-Lite offers? Let’s discuss your next project.